Table of Contents [hide]
If you've stumbled upon this post, it most likely means you have experienced a dreadful issue with your iPhone: the device being stuck on the Apple Logo, without being able to start. Sadly, this almost always mean that something happened at iOS level that makes our beloved iPhone unable to perform its boot phase.
Most of the time the above issue happens after installing some critical system updates, especially if something went wrong: however, there are a lot of other situations where the problem might arise: if you are lucky, you can get out of that issue by trying some workarounds suggested by Apple (see below); if not, don't worry - we got you covered with a dedicated tool that can help you to get out of that scenario by recovering your iPhone Operating System. Keep reading for more info on that!
What to try first
Here's a list of workarounds you might try to do to fix your iPhone stuck on Apple logo by yourself, before resorting to a third-party solution. Be wary, though, as some of these tasks require some non-trivial experience with the device: if you are a newcomer, you might want to bring your iPhone to an expert (maybe one of the Apple Geniuses that work in Apple Stores) and let him/her do the hard stuff.
- Make sure that the progress bar on your iPhone screen hasn't moved for at least one hour. Sometimes updates take a lot of time: be sure the Apple Logo is not working as intended by waiting some due time. That said, if one full hour has passed and the iPhone is still stuck, then it's definitely not normal behavior.
- Connect your device to a computer, and put your device into Recovery Mode. Putting your device into recovery mode could help you to solve this issue alone - providing you know how to do that. Here's a brief breakdown of the required steps, which will vary depending on your iPhone version:
- iPhone 8 and later. Press and release the Volume Up button; press and release the Volume Down button; press and hold the Side button; keep holding the Side button until you see the recovery mode screen.
- iPhone 7 and iPhone 7 Plus. Press and hold both the Volume Down button and the Sleep/Wake button; keep holding the Volume Down button until you see the recovery mode screen.
- iPhone 6s and earlier. Press and hold both the Sleep/Wake button and the Home button; keep holding the Home button until you see the recovery mode screen.
- Try to perform a System Update and/or Restore. Once your device has been put into Recovery Mode, you can start the Update or Restore process. On a Mac with macOS Catalina 10.15 or later, this can be done by opening the Finder; on a Mac with macOS Mojave 10.14 or earlier, or on a PC, you'll need to use iTunes; launch it and, when asked to update or restore, choose Update to update your device to the latest version of iOS, or Restore, to erase it (CAUTION: only do that if you have a backup).
This is basically what you can do alone: if none of the above workarounds succeeded, then you might want to try to recover your iPhone using a third-party recovery software such as TunesKit iOS System Recovery. In the next sections, we'll see how to use it to perform this task.
Introducing TunesKit iOS System Recovery
TunesKit iOS System Recovery is a dedicated tool specifically designed to help non-experienced people easily recover iOS (and tvOS) devices without data loss - and without the need to perform a System Restore (see above). It can be used to fix the "Apple Logo" issue that we talked about early on, as well as several other typical iOS system issues; it also allows to perform iOS downgrades (such as downgrading from iOS 16 beta to a previous version) without jailbreaking the device.
Installing the software
The software can be downloaded from its official website, which offers a Free Trial version (more on that later) and a Full version for Windows and macOS; if you opt for the full version, you will be asked to choose between a 1-Month, 1-Year, or Lifetime license type (more on that later on). For this test drive, we have used the Full Version for Windows with 1-Month subscription plan.
After downloading the installer, execute it to launch the installation wizard: the process is quite straightforward, just like any other GUI-based software tool.
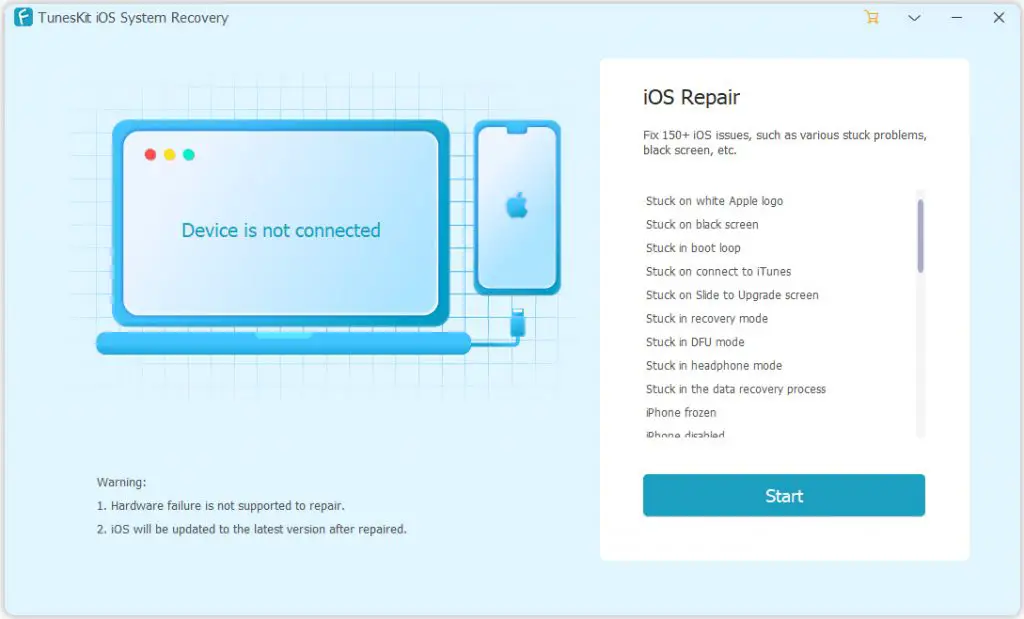
After the installation process is complete, we will be asked to launch the product. Doing this will launch the tool's GUI...
... as well as a website page featuring a 10-second quickstart with full instructions on what to do.
Let's now see how we can perform the system recovery.
Performing the Recovery
In a nutshell, here's a breakdown of how the software works:
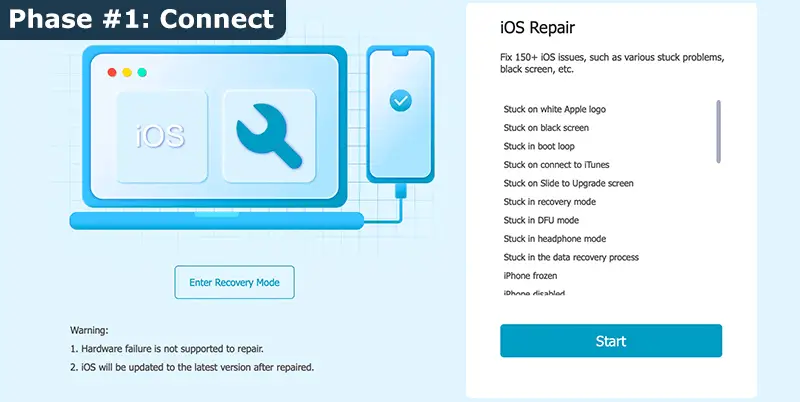
- Phase #1: Connect. Plug an iOS device to the PC via an USB compatible cable: once done, click the Start button to start the recovery process. In the next window, you'll be asked to choose between the Standard Mode or the Advanced Mode: the first option will perform the recovery without data loss, while the latter will erase all your device's data. The suggested approach here is to try the Standard Mode first, and use the Advanced Mode only in the unlikely scenario that it fails. That said, be sure to perform the right choice before proceeding.
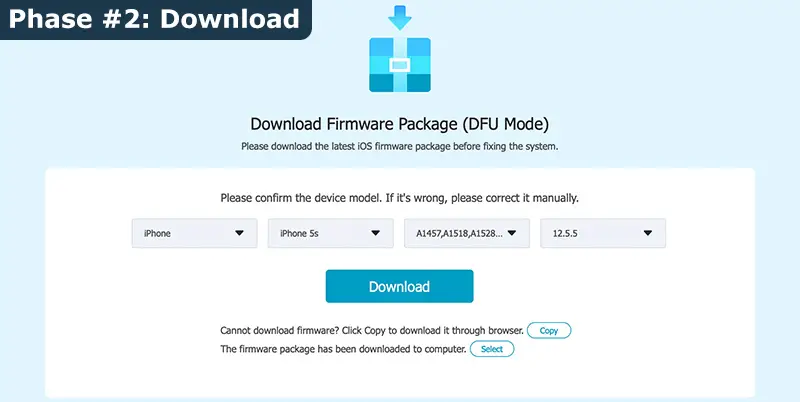
- Phase #2: Download. The software will try to auto-detect the device, however - since it's likely stuck - it might fail to do that; if it happens, you will be given the chance of manually selecting the device model. Once done, you can click the Download button to retrieve the latest iOS firmware package available for your device's given version, which is a requirement to perform the system recovery process.
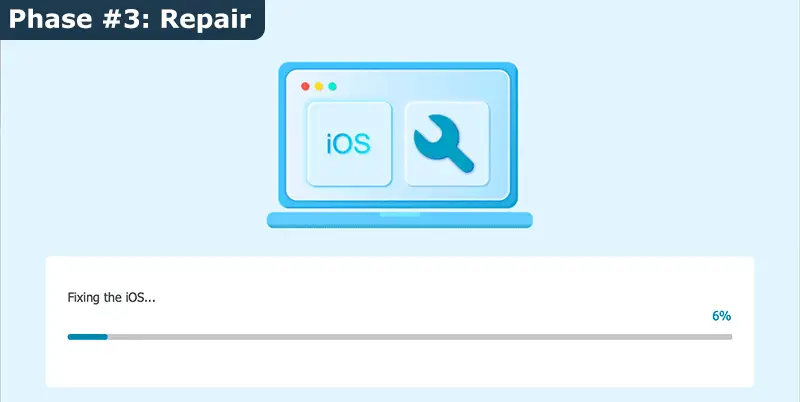
- Phase #3: Repair. Once the downloading is complete, you'll be asked to click the Repair button to start the actual recovery process. It goes without saying that this is the "core task" of the whole process. Don't worry if it takes some time, it's pretty normal: in your test drive, the recovery process took a little more than 7 minutes. Luckily, there's a progress bar that will help you to understand that the program is running and how much time is left before the task completion.
That's pretty much of the software works: the wizard-like process is very simple to follow, which is perfect for non-experienced users because they don't have to learn anything - all they need to know is the version of their iOS device, which is literally printed on the box!
Available Plans
The software comes in two versions: a Free Trial (with limited features) and a Full Version, with all the features available. The Free Trial can put the device in and out Recovery Mode and check the device compatibility: however, in order to perform the system recovery process, you need to get the Full Version.
The full version is also declined into three available plans:
- 1-Month. Currently available at a discounted price of $29.95 (instead of $59.95)
- 1-Year. Currently available at a discounted price of $39.95 (instead of $69.95)
- Lifetime. Currently available at a discounted price of $49.95 (instead of $99.95)
All plans can be used with a maximum of 5 different iDevices, and a single PC: the lifetime license also features additional discounts for more devices/PC.
Video Tutorial
If you are interested in trying or purchasing the product, you might want to see it in action by looking at the following video tutorial (1:45 length).
If you want to see more videos, we strongly suggest following the TunesKit official YouTube channel, which also features several interesting tips for your iDevices.
Conclusions
TunesKit iOS System Recovery has proven to be a solid product that can greatly help non-experienced users (as well as experienced ones) to recover their iOS devices minimizing the risk of data loss: the only minor downside we have found is the fact that the Free Trial version doesn't allow to recover anything: however, that's the same approach followed by the other competitors offering the same features. If we consider how cheap the 1-Month plan actually is, we can still say that TunesKit iOS System Recovery is one of the best recovery software tools available on the market, offering an excellent quality-price ratio.

