We already discussed in a previous post how easy it is to create, publish and mantain a repository hosted on github.com by only using Mercurial and TortoiseHG without additional software - including Git. Here we'll go a step further and illustrate how to adopt the same method to set up additional branches, including the gh-pages branch used by GitHub website to handle one of its most useful feature: the project pages.
Introducing GitHub Pages
Chances are that you already know what a GitHub page is: if not, start with reading the official guide. GitHub pages are essentially static web pages hosted on GitHub servers to publish your account or project related stuff. There are basically two types of GitHub pages:
- User & Organization Pages: these are pages related to your personal (or organization) GitHub account. You can use them by creating a new repository with the following name: <username>.github.io , where <username> is your GitHub account name. As soon as you do that, every page and/or web content (stylesheets, javascript, images etc.) you put inside that repository will be immediately and openly accessible through the following URL: http(s)://<username>.github.io . You can use these pages to create a personal website where you can put your personal info, developer career, past/current works, and so on.
- Project Pages: these are pages bound to a specific GitHub project. You can either create them manually by using the Git command-line or automatically by using the automated page generator software service powered by GitHub. In both cases you'll end up adding a new branch to your repo, namely gh-pages, where you will be able to put one or more web pages that will be openly accessible through the following URL: http(s)://<username>.github.io/<projectname> . You can use these pages to create a website for your project: description, usage instructions, how-tos, demo, examples, documentation, APIs, and so on.
Just a quick word regarding User & Organization Pages: we won't be talking about these. As a matter of fact we already did that, since they use the master branch of their own dedicated repository you can already manage sticking to what we already wrote in our previous post. This post is focused around Project Pages, which require us to create a specific gh-pages branch: let's see how to handle this.
Create Project Pages using the Automatic Page Generator
The most simple way to achieve our goal is by using the Automatic Page Generator powered by GitHub. Open your project URL on GitHub and go to the Settings page:
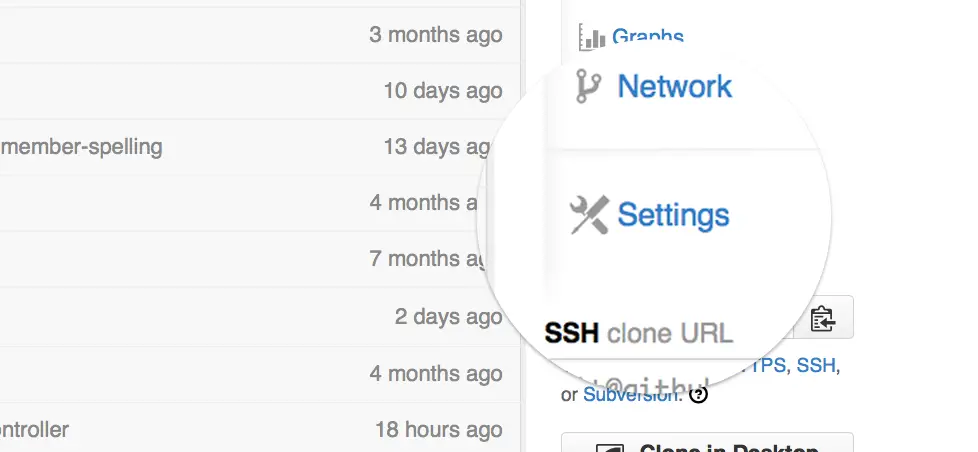
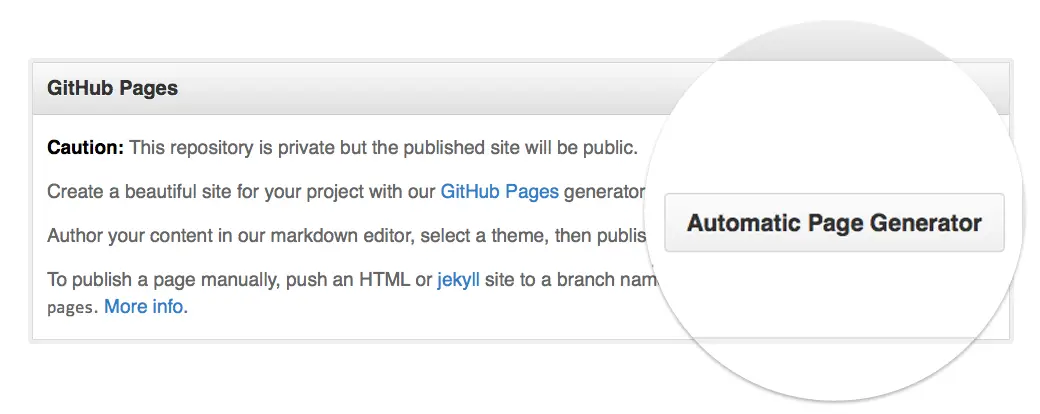
Click to the Automatic Page Generator button in the lower-right corner.
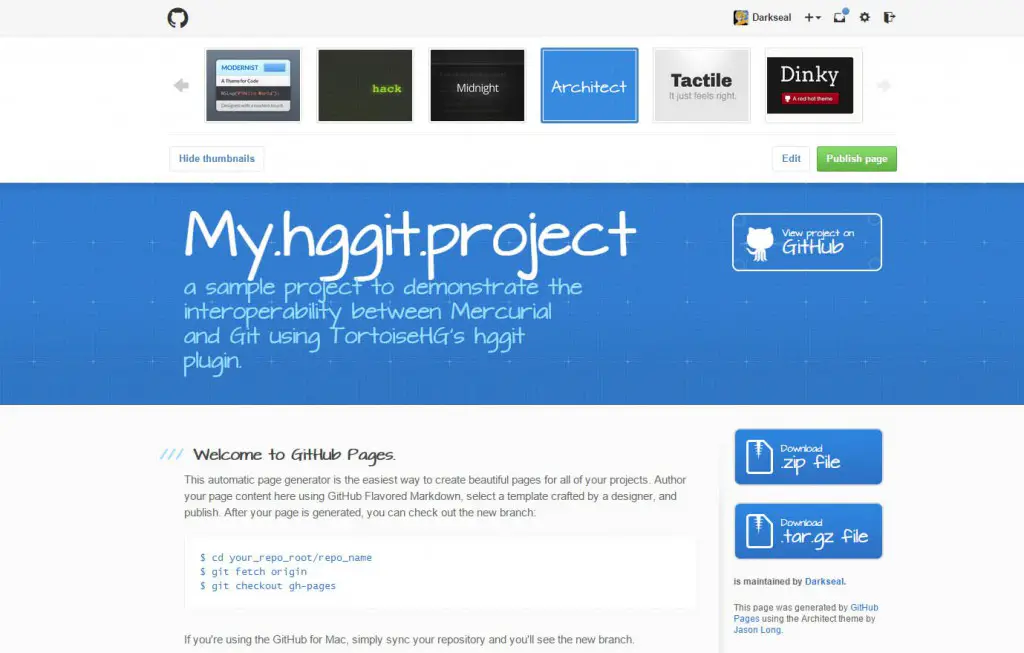
Author your content in the Markdown editor and click on Continue when done. Preview your content using the free themes offered by GitHub and click on Publish Page when ready. The gh-pages branch will be added to your repository.
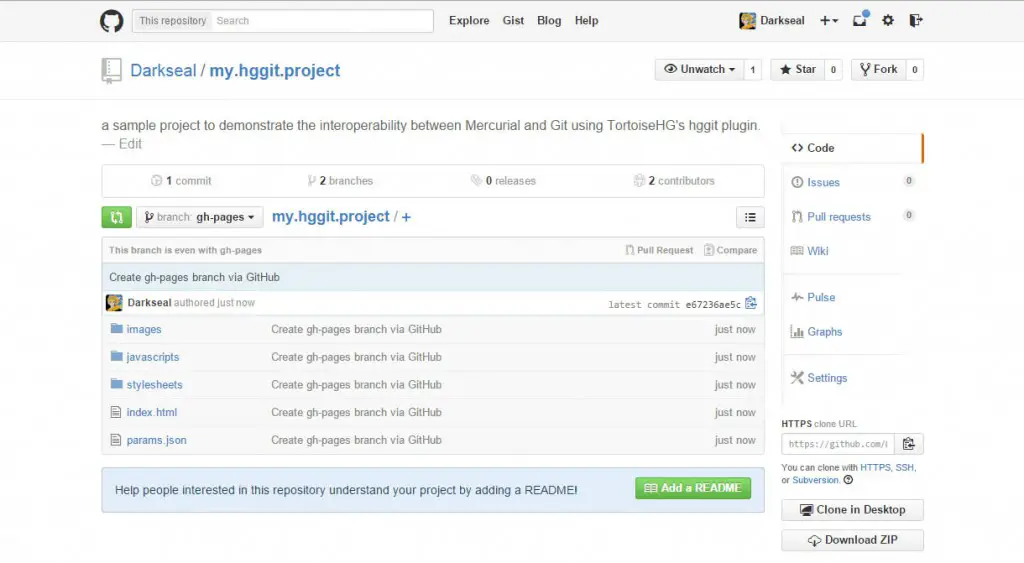
You will see that the gh-pages branch is completely unrelated to our project: it exclusively contains the project presentation web pages among with all their web-related contents (javascript, stylesheets, images and so on):
Create Project Pages manually
If you prefer to use the command-line, you can add the gh-pages using Mercurial or Git in the following way:
Using Mercurial:
Using Git:
For a full reference guide on each step we suggest reading the official GitHub documentation.
Conclusions
After completing the aforementioned task of your choice you should've been able to add the gh-pages to your remote GitHub repository. Now you just need to synchronize it to your local Mercurial repository on your hard-disk drive: you can do that using the same approach we wrote in our previous post. Open the contextual menu by clicking the right mouse button over your project's folder and launch the Synchronize command. Type in (twice if needed) your GitHub credentials and you're done!
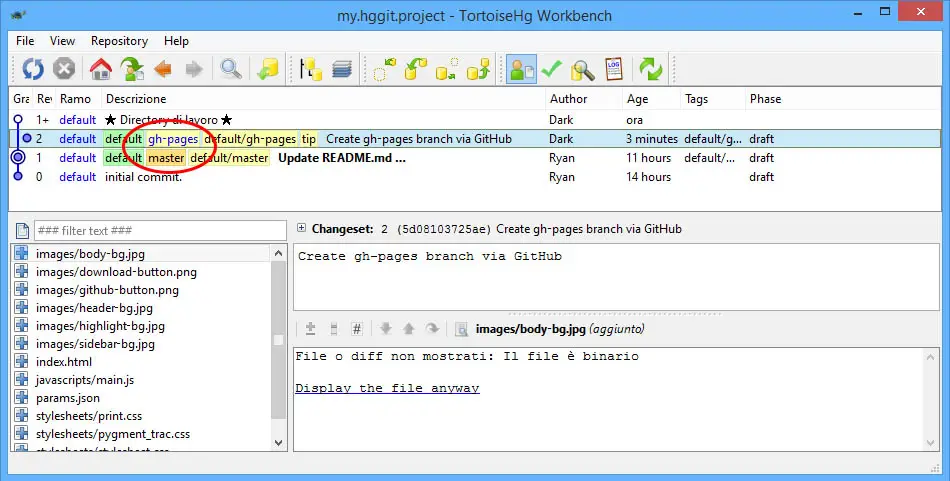
If you want to track your results, launch the TortoiseHG workbench and look to your local repository info:
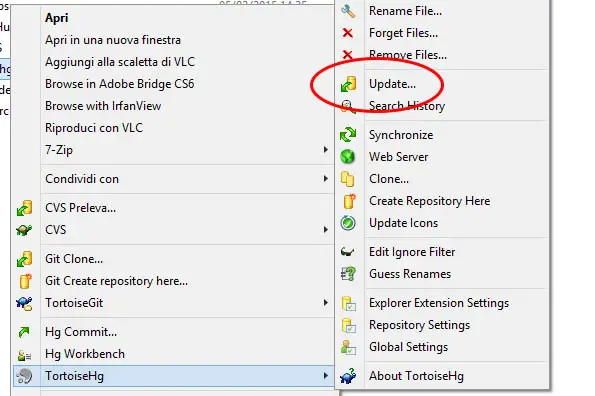
You should see a couple bookmarks like those shown in the screenshots: master and gh-pages, each one corresponding to the GitHub branch with the same name: that's good, since they serve the same purpose. You can change your bookmark at any time with an hg update from the command-line or using the TortoiseHG contextual options.
Just remember to use the master bookmark when you need to work on your project files, and switch to the hg-pages bookmark when you feel like working on its Project Pages.
Happy coding!
One Comment on “Manage GitHub Project Pages with Mercurial and TortoiseHG”