Nowadays, mobile charging is the most important part of everyone’s daily routine, so when this regular process goes amiss, that moment is one of the most troubling and scariest moments ever. You've done everything and used every trick which you generally do, used the same cable, outlet, power adapter or even used wireless charging pad.
So, why your iPhone won’t turn on? or what reason is the charge stopping at one point? Before you reached a conclusion that there's a something major issue with your battery and contact Apple Customer Support, you must understand why your iPhone won't charge? and go through some troubleshooting practices to know how to fix iPhone charging issues at home.
Understanding the causes
In any case, if your iPhone stopped charging at a certain point, that is because of its programming software that may confine charging over that amount. This is a safeguard intended to expand battery life and protect your iPhone from overheating during charging. If you also find such problems with your iPhone, try to fix the error on your own before contacting Apple support. Try charging your phone in a cooler area or removing it from charging case.
#1. Clean the charging port
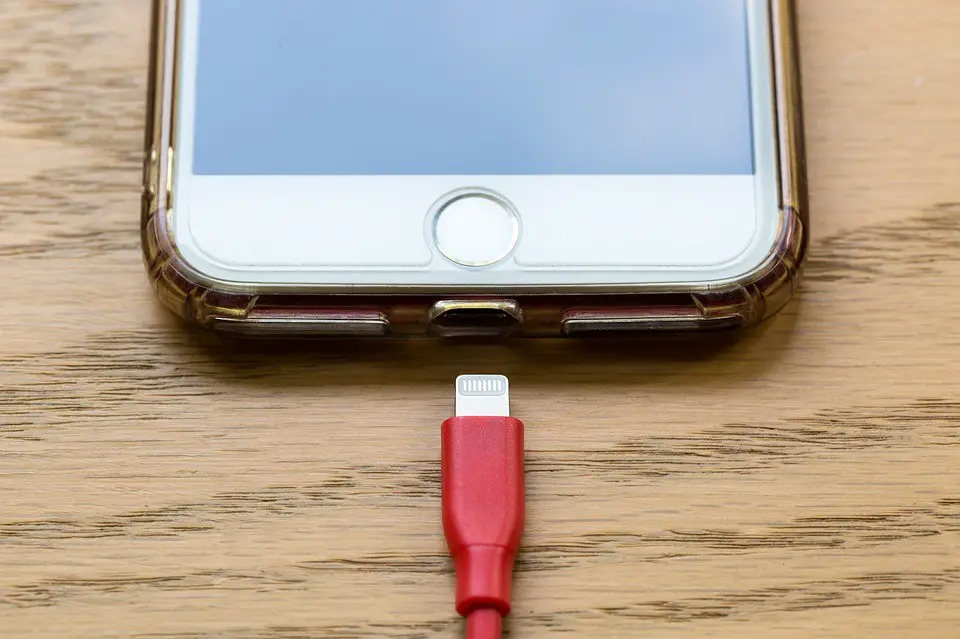
One of the main reasons your iPhone won’t charge is quite very simple; the iPhone Charging Port is blocked with gunk, debris, dust, pocket lint, or some other obstruction. Start the charging port cleaning process by using a flashlight and take a deep look at the bottom of charging point of your iPhone. If you find any gunk or debris in there, it may keep the lightning cable from making a strong connection with your iPhone. There are heaps of connectors down there and if an inappropriate one is closed off, your iPhone won't charge by any means.
After you discovered lint, debris or gunk in your iPhone’s charging port, it’s the high time to wipe it out and for that you would need something that won't lead an electric charge or harm the electronics at the bottom of your iPhone. You can use a clever trick; take an anti-static brush or just a new toothbrush and gently clean out the charging port of your iPhone.
#2. Inspect for damage
After cleaning the USB port and power adapter, let’s proceed to the components that may need to replace. Next process in finding the issue in iPhone charging Port is to check all the charging accessories for damage.
iPhone USB Power Adaptors
Apple brand offers USB Power Adapters with a capacity of 5W, 10W, and USB-C Power Adapters with a power of 12W, 29W, 61W, and 87W as well. Whether you’re using a refurbished iPhone X or a new one, you must check out its power adapters thoroughly. Check out the below troubleshooting steps to find out if your adapter is the reason behind your iPhone won’t charging.
- Check all the signs of damage of your iPhone’s Power Adapter; inspect thoroughly whether there is any bent in power cord or is there any component missing.
- Inspect and make sure that your power adapter is an original Apple product. Verify the originality of the product by reading the product description and Apple logo.
- If still, your power adapter won’t start working, swap it out with another one you have, or borrow one from someone.
After following these steps, if find your iPhone starts charging, then, probably you've found the main culprit!
iPhone Lightning Cables
If you are using an iPhone version 5 or later, then you must have a Lightning Cable to charge. Inspecting to ensure that lightning cable is working well is the next tip in iPhone charging Troubleshooting Guide. You've just cleaned your Lightning Cable, so we should proceed with a couple of more steps to ensure it's not the reason for your issue.
- Check for damage such as rips or fraying, feel along the cable to check if there are any sections that feel deflated or loose; this may indicate a breakage of the cable inside the sheath.
- Check thoroughly fraying or rips for damage, separately check the cable to see if there are any areas that are loose or flattened; this may show a breakage of the lightning cable inside the wrapped sheath.
- Go for another Lightning Cable and try to charge your iPhone with it. If your iPhone starts charging, then, it's time to buy a new lightning cable!
#3. Check for recent Software Updates
When you put your iPhone on charging, charging accessories, hardware parts, and even iPhone’s software also work together to empower the charge to go ahead. If your iPhone needs a software update, it may charge slowly or it won’t charge at all even though all your iPhone charging accessories are operating fine.
So, if your iPhone still isn't charging, ensure your iPhone software have updated recently and that your iPhone model is compatible with all new software updates. iOS is currently running at a version of 11.2.5, which keeps running on all iPhone’s renditions 6 and later.
#4. Check the wall outlet
After following the long list of troubleshooting iPhone charging tips, you must also check your charging power source. In case you're charging your iPhone from a PC's USB port, ensure the PC is completely awake; make sure it’s not in rest or hibernation mode. Also, give a try using a different USB port, in case that the USB port you were utilizing has fizzled. Try not to charge from a USB port incorporated with your keyboard or USB hub. Connect it directly to a USB port on the PC itself. </span></p><p><span style="font-weight: 400;"> if still it won’t start working, plug it direct into a wall power outlet with an AC connector like the one that accompanied your iPhone. If you have been utilizing an AC adapter al the time, at that point try an alternate one – fetch one from a friend has an iPhone or buy a new one or use the one that accompanies an iPad.
#5. DFU Mode and Restore
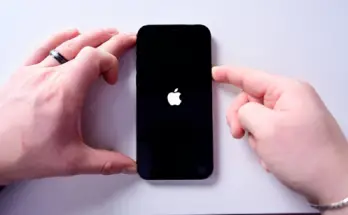
Regardless of whether your iPhone won't charge, a DFU restore mode may still working on it! You've just resolved a simple software update issue and inspected your USB cable, charging accessories and the iPhone itself, so, now is the time for a final attempt, the DFU restore mode. A DFU mode is an uncommon sort of restore that can settle severe existing software issues. However, there are not many chances that a DFU restore will bring back the functionality of your iPhone, but it’s the first thing & a hopeful process to repair your iPhone at home without spending large bucks on repairing from outside.
Conclusion
Hope these iPhone troubleshooting tips help you out during the toughest time when youriPhone won’t turn on. But, still, if DFU store and all the troubleshooting tips don’t work, then it’s the time to get your iPhone repaired from an Apple Support. Contact Apple support to hire a Certified Apple Technician.
