Table of Contents
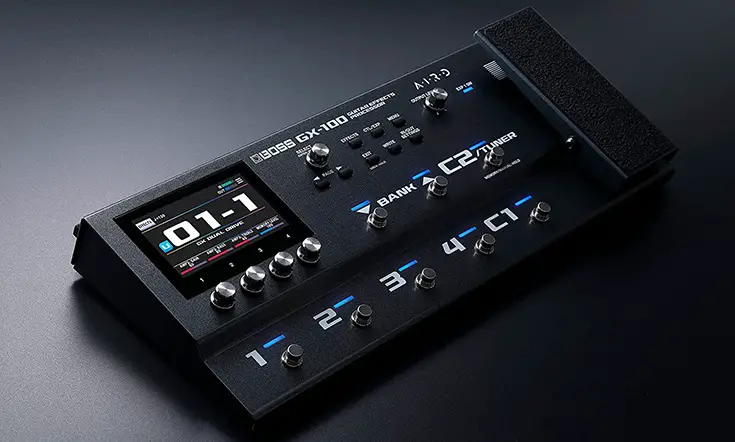
A few days ago I got myself a Boss GX-100, a neat Guitar Effects Processor made by Boss (more info here). The unit is great, but it doesn't come with a paper manual (the online manuals can be found here) and therefore I struggled a bit to understand how to update its firmware.
Eventually, I found this video, which explains the required process: in this post I'll briefly summarize the required steps for those who don't have time to see it.
#1. Download the Firmware
The first thing we need to do is to download the firmware from the download section of the Boss GX-100 dedicated page, which is available on the official Boss website. The file we are looking for is the GX-100 System Program (version 1.11 at the time of writing), which is a ZIP file containing the firmware binaries and some text files.
Unfortunately, there is no Firmware update dedicated app or executable in the archive, meaning that we can't just execute & install it.
#2. Connect the Hardware
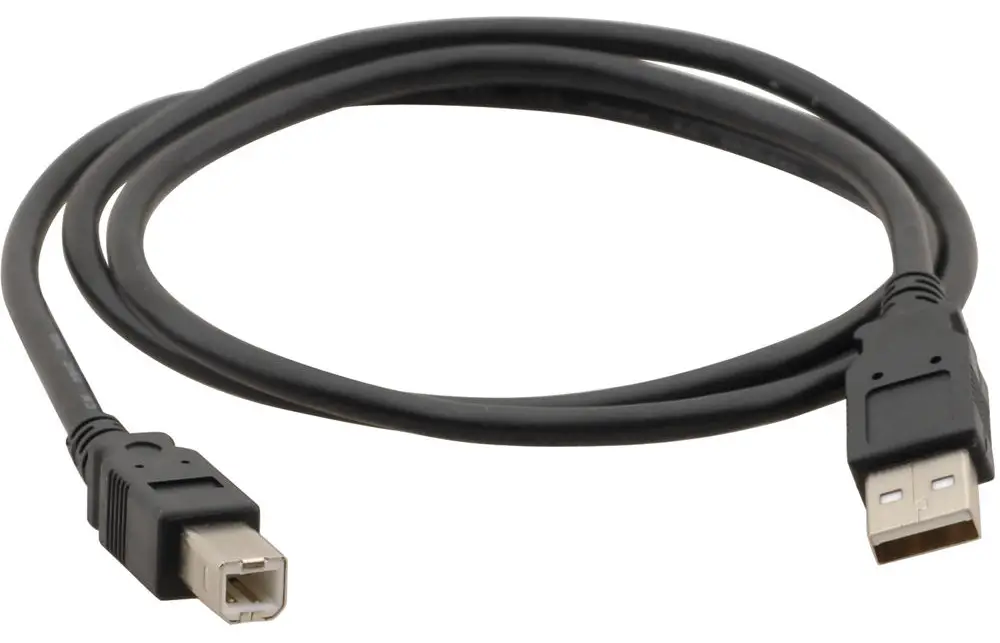
The next step involves connecting the Boss GX-100 to the PC: to do that we need a USB cable with a male type-A and a male type-B plug, just like the one depicted in the screenshot below.
Once we have connected the type-B plug of the cable to the Boss GX-100 unit, and the type-A plug of the cable to the PC, we can boot the GX-100 unit in firmware update mode. To do that, press and hold the WRITE button on the front panel and, right AFTER that, turn the GX-100 unit on. If you succeed in doing that, you should be able to see the following message on the GX-100 screen:
The CONNECTED prompt above means that the unit is connected to the PC and ready to be upgraded.
Now, if we open the File Explorer window on our PC, we should be able to see a new Hard-Drive called GX-100 on the devices list.
#3. Copy the Firmware
Now that we have access to the GX-100 memory storage, we can upload the firmare. To do that, copy the whole (unpacked) content of the firmware ZIP archive (all the included files - NOT the ZIP archive itself) to the GX-100 Hard-Disk drive.
#4. Update the Firmware
Once done, eject the GX-100 Hard-Drive by right-clicking on it (from the File Explorer window) and selecting the Eject option from the contextual menu, just like you normally do with a USB pendrive. As soon as we do that, the GX-100 will immediately start the firmware update process, as we can see from the screenshot below.
The writing process will last about 30/60 seconds: once done, the screen will output a COMPLETE message, meaning that the task is done and the firmware has been successfully updated.
All we have to do now is to force a reboot by turning the GX-100 off and on, and we'll be able to use the new firmware!
Video Guide
In case you prefer watching video tutorials rather than reading articles, here's the YouTube video I used to write this guide (credits to @JaredGunstonTV for this).
Conclusion
That's it, at least for now: we hope that this guide will help other Boss GX-100 users to update their unit's firmware quickly and without issues!


