Table of Contents
We've already talked about Stellar Corp. (and their software tools) a couple times in the past, such as when we've seen how to fix a damaged MS Exchange database using Stellar Repair for Exchange and when we've talked about converting EDB to PST files using Stellar Converter for EDB. This time, however, we will not talk about files to recover or convert: we're going to review a software that can help us to perform the exact opposite - permanently erase those file from our laptop or desktop PC.
The name of such tool is Bitraser File Eraser, and - as we can easily guess from the name - its main goal is to help us to securely delete all the physical data that we don't want to fall in wrong hands. In the following paragraphs we'll see how we can make good use of this software to mitigate the risk of data breach in some specific scenarios, such as when we need to sell our PC (or hard drives), pass them to another colleague, clean our workstation before changing jobs, and similar tasks.
Do we really need this tool?
Let's start by asking ourselves a simple question: why should we need a dedicated software to perform a "simple" file deletion task? Can't we just use the built-in "delete" command provided by all operating systems since the beginning of times?
The short answer is YES: as a matter of fact, there are a number of scenarios where we would definitely need it. More precisely, there are a lot of common situations where we simply cannot rely to the stock DELETE command. Or, to say it even better, we shouldn't do that.
The reason for that is very simple: security. To put it more correctly, we shouldn't do that for the following main reasons:
- There are a lot of files that we won't likely delete manually because we don't know that they exist, even if they pose a significative threat to our privacy or security. Those includes cached webpages, internet cookies, temporary files, downloaded pictures, browser history, and so on.
- The built-in delete command does not securely erase our files: it just "unlink" them, removing the logical reference to the sectors where they are physically stored into our storage media devices so that those sectors can be "overwritten" with new files. However, until this happens, they can be recovered using recovery software such as Stellar Data Recovery, Recuva and the likes.
Both of the above reasons are noteworthy, but the second is particularly important: a recent lab report outlined the risk of data leakage from world’s largest sample of 311 used hard drives, phones & SD cards by revealing that 7 out of 10 used devices are at risk of data theft! For this very reason, it's really important to mitigate the risks of financial frauds, identity theft, and harassment by securely deleting our devices before getting rid of them.
How does it work
Bitraser File Eraser help us to wipe all sensitive data in a typical Windows PC, including internal hard drives and external storage devices. More precisely, it can be setup to perform the following tasks:
- Erase any kind of "document" and "media" file, including photos, videos, identity documents, and other common file formats.
- Clear browsing history from Chrome, Mozilla, Safari, IE, Microsoft Edge, Opera, SeaMonkey and other web browsers.
- Wipe online banking, email passwords and all other sensitive data saved on browser.
- Remove app traces & cookies to safeguard sensitive data, including news apps, Instant Messengers (such as Skype conversations), Email apps, Peer to Peer apps, etc.
- Deletes system traces, including the temporary files that pile up on your computer with routine usage: these files are created by the operating system while running a process; as they pile up, they will likely consume storage space and degrade system performance.
All of these data will be erased from drives and partitions to ensure their permanent wiping; by erasing the unused storage space freed up after deleting a file, the tool can be setup to use a shredding algorythm to safeguard the deleted files from unwanted recovery using any tool or method. Such feature can also be automatically added to the operating system's Recycle Bin, so that it will happen whenever we "empty" it (or use the SHIFT + DEL keys for removal).
Task scheduler feature
Bitraser File Eraser can be configured to automatically perform the file wiping tasks at a predefined date and time: the tool allows us to schedule the erasure of files, folders, and traces at frequencies ranging from once, daily, weekly to monthly or with system boot; the software also allows to view the scheduled tasks and details like status, state, algorithm, mode, frequency & more, as well as to setup a "ignore list" to prevent some specific files from being deleted.
Test run
Let's now try the software in action. Here's what we'll do in the next paragraphs:
- Installation, where we'll download and install the software
- First-time configuration, where we'll perform some basic setup steps.
- Erase Deleted Data, where we'll securely erase files that have already been deleted in the past.
- Erase Files & Folders, where we'll securely erase existing files and folders.
Installation
To install the software, perform the following steps:
- Download the Bitraser File Eraser latest version from the official website. The full version is free for 30 days, meaning that we'll have a decent amount of time to try it before buying it.
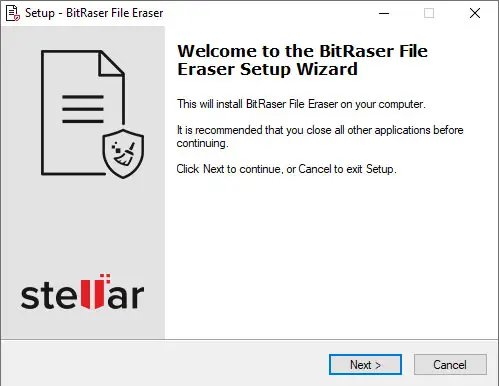
- Install the software to a Windows 10 PC by clicking on the EXE installer file and completing the wizard.
Once the installation process is complete, leave the "Launch Bitraser File Eraser" checkbox checked and click to the OK button to launch the software and access the one-time configuration wizard.
First-time configuration
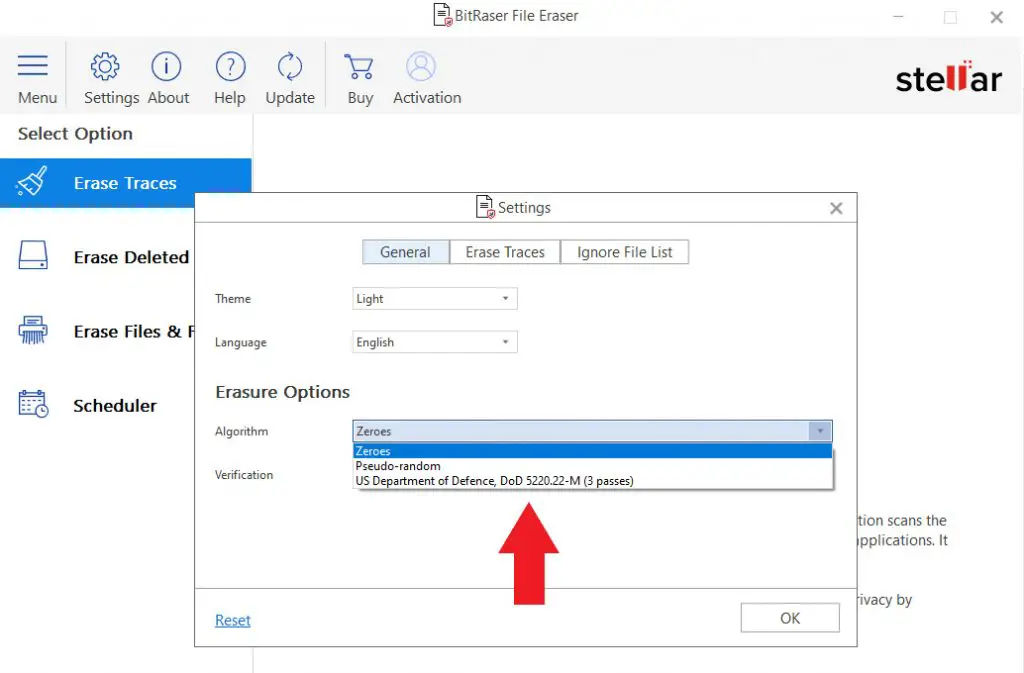
The one-time configuration wizard consist in two pages where we can (optionally) activate the software, as well as setting up the logging folder, the erase algorythm and other useful settings that will be used by the main deletion tasks.
Once done, we can complete the wizard and proceed with the main software's dashboard.
Erase Deleted Data
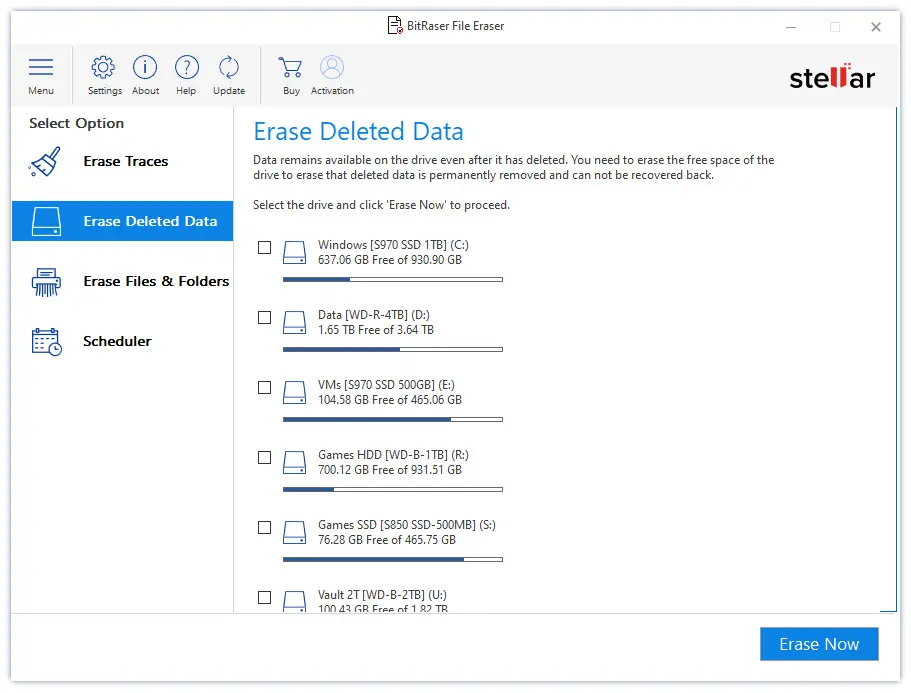
This feature will ensure that all the already deleted files will be permanently wiped, thus making them unrecoverable by most data recovery sofware.
Select the Free Space tab from the left menu: the software will show all the internal and external drive, which can be selectively turned ON or OFF to be included or not in the wiping task.
Select the drive to include in the process, then click the Erase Now button placed on the bottom-right corner to start the task.
Erase Files & Folders
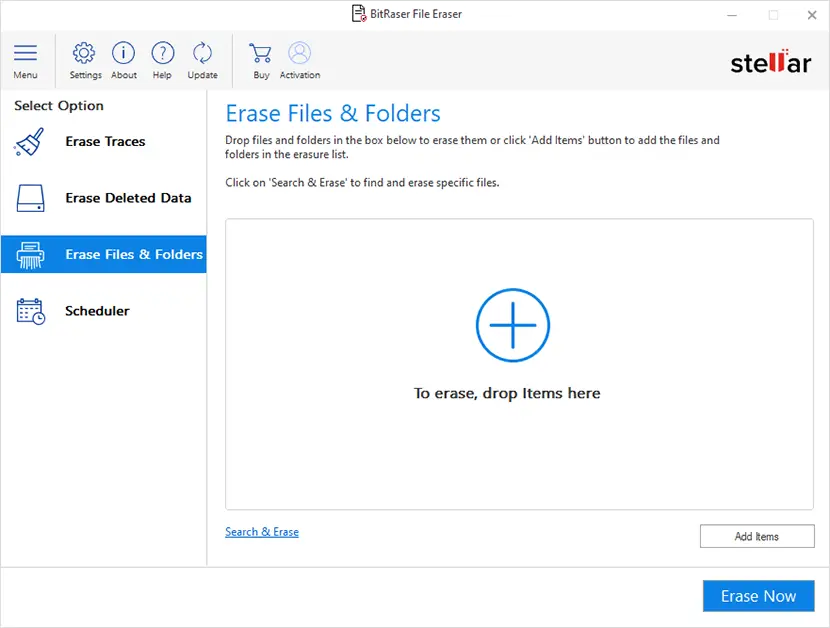
Now we'll try to permanently delete some existing files & folder.
To do that, select the File & Folder tab from the left menu: the software will show the filesystem of all the available drive, where we can select all the files and/or folders that we would like to permanently wipe.
Select the drive to include in the process, then click the Erase Now button placed on the bottom-right corner to start the task.
Conclusion
That's it, at least for now: all in all, we definitely recommend Bitraser File Eraser because it does what it says in a very simple and effective way.

